Solar Charger Circuit 2nd Prototype 9 Steps with Pictures Circuit Diagram Learn how to create your own solar battery charger with our comprehensive guide! Whether you're a DIY novice or an experienced builder, this article walks you through selecting the right materials, building an efficient circuit, and maintaining your charger for peak performance. Discover various types of solar chargers and harness solar energy sustainably to power your devices outdoors or Circuit Diagram: https://drive.google.com/file/d/11grU4R7eLiyIte5irrxwKzsnboP6WE7R/view?usp=drivesdk#SolarBatteryCharger #BatteryCharger #Diy#DIYflashlight # Follow these steps to create your own 12-volt solar battery charger. Each section provides crucial instructions for a successful build. Designing the Charger Circuit. Choose a Circuit Configuration: Select a basic circuit design, typically consisting of a solar panel, charge controller, and battery. Ensure the charge controller is compatible
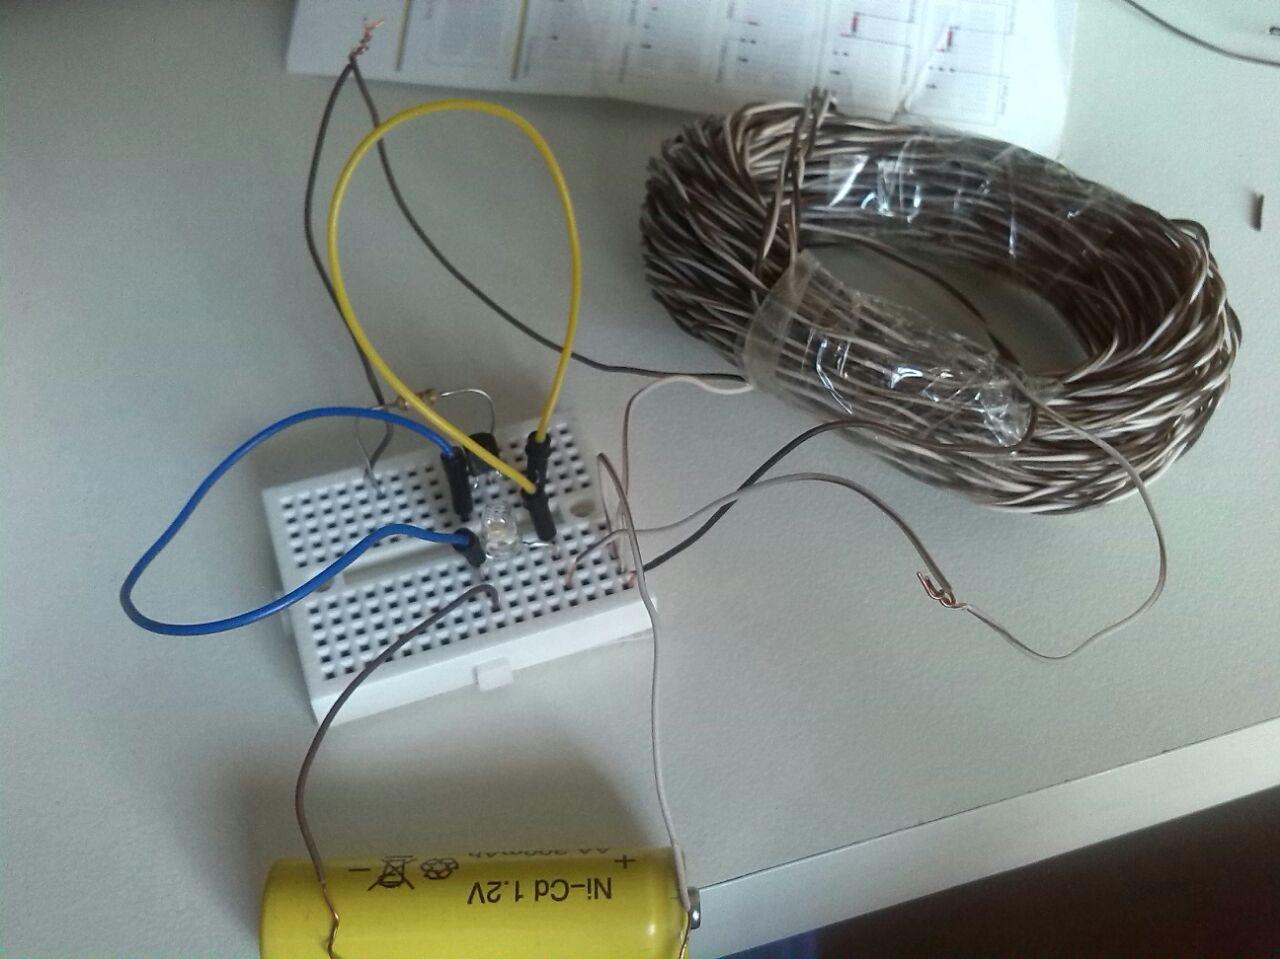
The advantage of this circuit is the dark sensing LED driver can be one location and the charging circuit with the solar cell can be in another location. The value of R1 changes with the light, its value goes down as the amount of light goes up and its value goes up as the amount of light goes down. This action of R1 varies the power applied to

Solar Battery Charging : 10 Steps (with Pictures) Circuit Diagram
Step-By-Step Guide on How to Make Solar Powered Battery Charger. Creating a solar powered battery charger is a straightforward process. This guide provides detailed steps to help you build your own charger effectively. Designing the Circuit. Select Your Components: Choose solar panels, a charge controller, and a battery type. For example, a

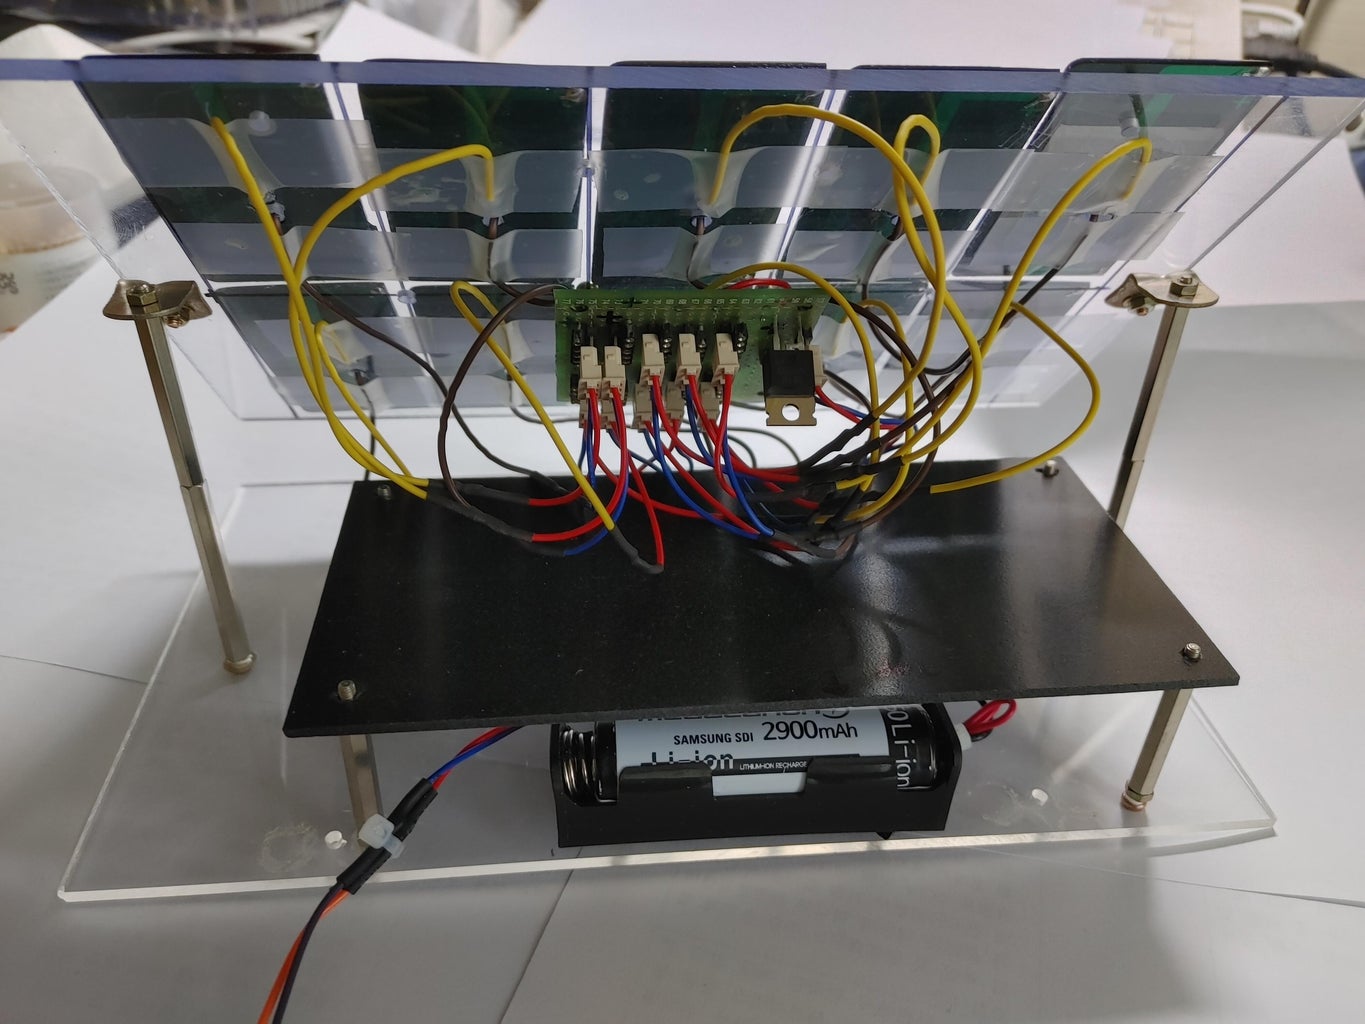
8. Test the solar battery charger. Confirm that your circuit works by testing it. First, look at what you have, and ensure all your components are in place. Using your voltmeter, check the voltages for every stage of the circuit. The charging voltage should read about 4.2V. In this video, I'll show you how to build a solar charging circuit controlled by an Arduino. You can find the code and circuit diagrams here:https://github.c The suggested flyback solar charger circuit with I/V checking was created by me bearing in mind the above criticality of a solar panel. Let's understand the information of the circuit by talking about the following diagram below: Right here the IC 741 section is the current administering phase, the IC555 are set up as PWM optimizer while the